X-COM: Apocalypse - Combat Basics
Previous --- Index --- Next
You can choose turn-based or real-time.
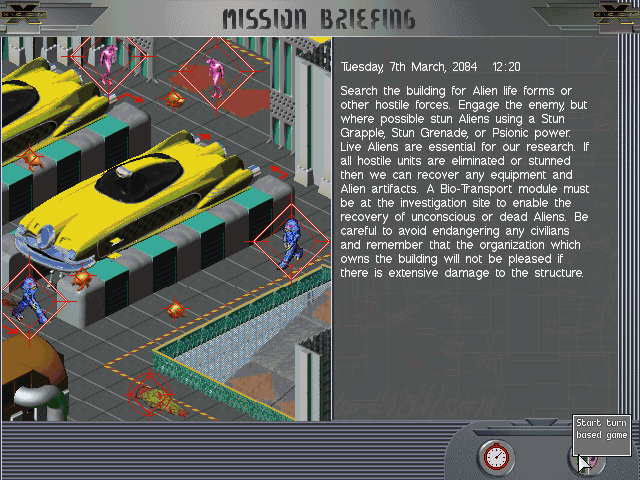
I like turn-based, so I'll be talking about how to play it that way. In real-time combat, you can only give basic directions to your men. They don't follow your orders very well and tend to shoot willy-nilly, wasting a lot of ammo.
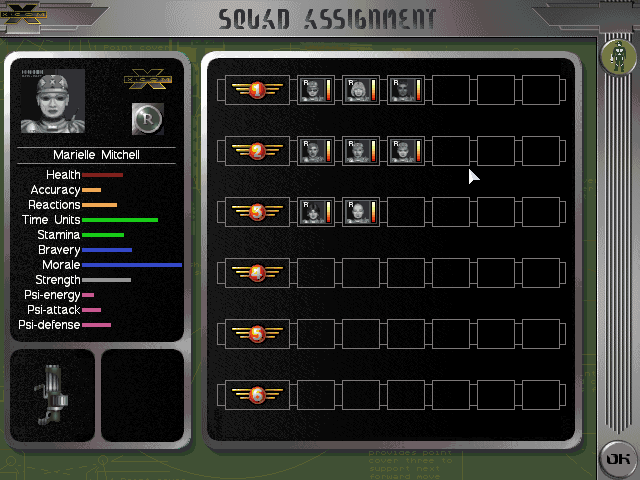
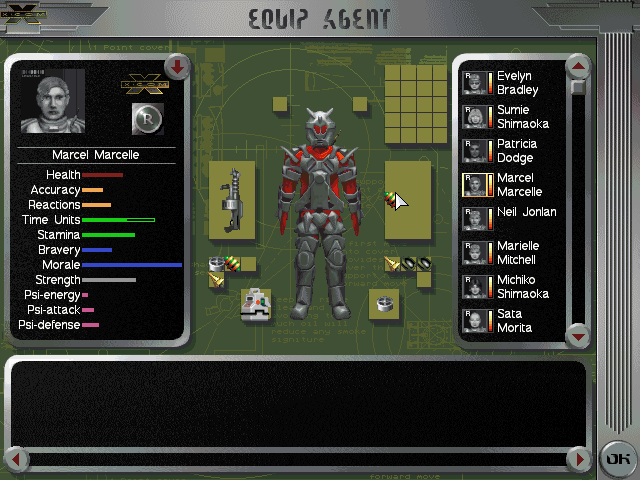
Before the battle starts you can assign your men into squads. Drag and drop portraits to reform the squads. You can also check equipment.
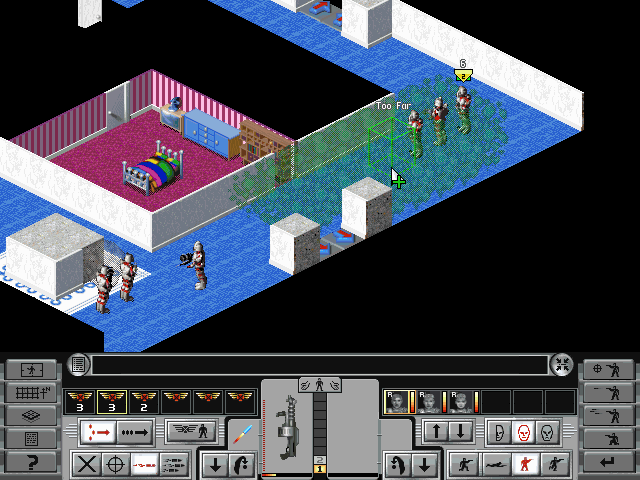
This is the Battlescape.
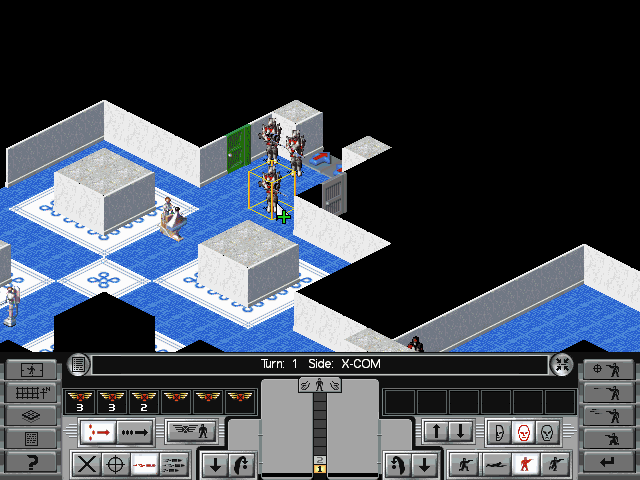
See where the 3, 3, 2 is? That's where you manage your squads. Double-click one of these, and you select that entire squad.
To select one person in a squad, single-click the squad, then click the person's portrait.
I selected the squad with 2 people, and then clicked the first portrait, Michiko. You can double-click a portrait to center on that unit.
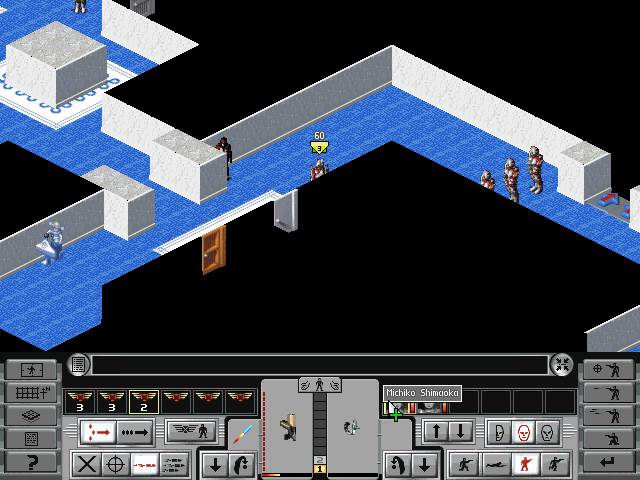
The "60" over her head is her "Time Units" (TUs). It's how much action she has left to move this turn. You can click anywhere to choose a place for her to walk to. Before clicking, the cursor will give you an estimate of how many TUs she will have left when she reaches that location.

She will have 20 TUs left after I move her to the corner here.
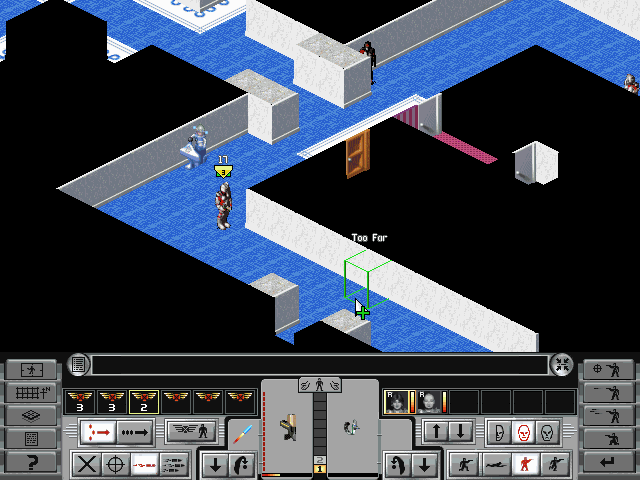
If you right-click, you'll change the direction the unit is facing. It takes a few TUs, but it's good to take a look around a corner before sending someone right into an alien.
When you're done moving your men, click the "End Turn" button on the lower right.

Now the aliens will move.
If one of your guys sees an alien and has some TUs leftover, he might shoot it, or try to get behind some cover. So, it might be good to leave your guys with ~10 TUs.
When a hostile unit is spotted, a dot will appear above the portrait of the unit that sees it.
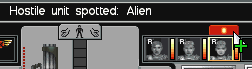
You can click the dot to center on the enemy unit (this is good practice since you might not always see the enemy yourself even though your men can).
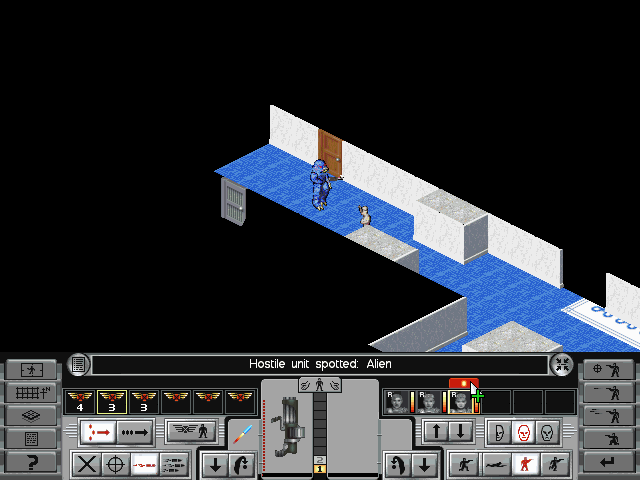
Oh, it's a big blue man-thing!
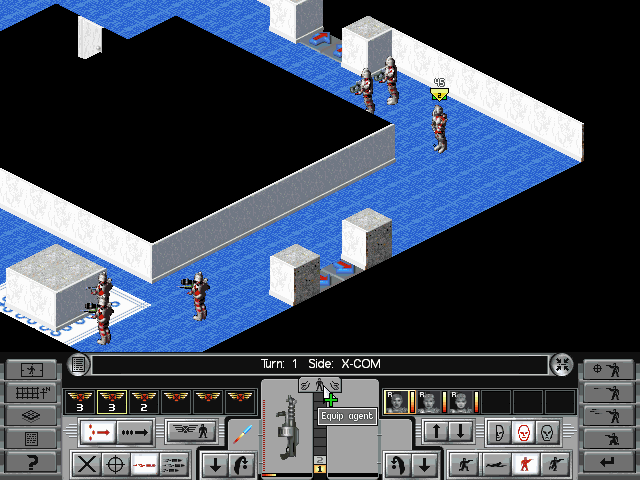
And these came out of nowhere.

With two enemies together like that (especially this particular alien species), it's a good opportunity to use a grenade. So here's my grenade tutorial.
In this tutorial, I'll be attacking my own people for a controlled environment.
Click the "Equip Agent" button at the top-middle of the console.
This screen should be familiar to you.
If something is on the floor, it will show up on the bottom area, so you can pick up anything that dropped (like a dead alien's weapon).
Drag and drop a grenade into the agent's free hand. Then press OK.
Click the grenade in the Battlescape to prime it.
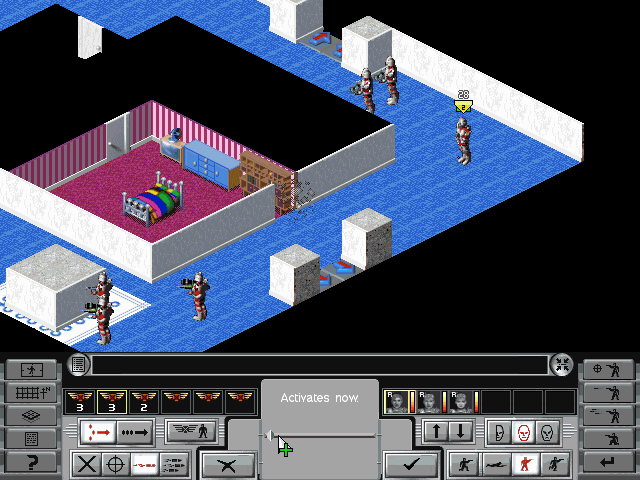
Move the slider bar to the left so that the grenade goes off right when it lands. Other options are to make it go off when you end the turn, or in a few turns.
Then, click on a location to throw it to. This is my man's 2nd attempt; the first grenade hit the wall and broke a hole into someone's apartment. You can miss at throwing.
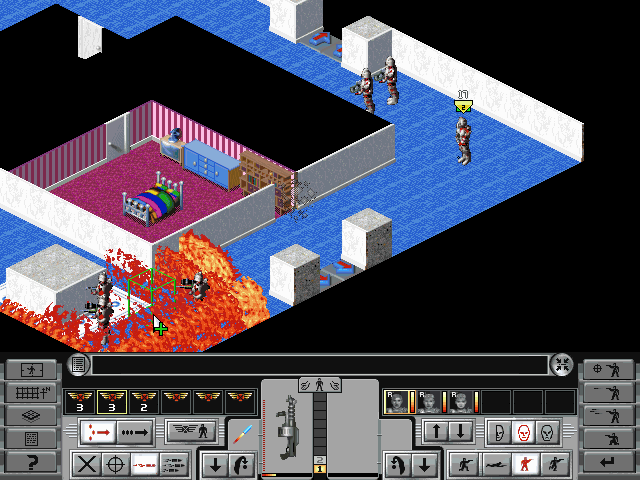
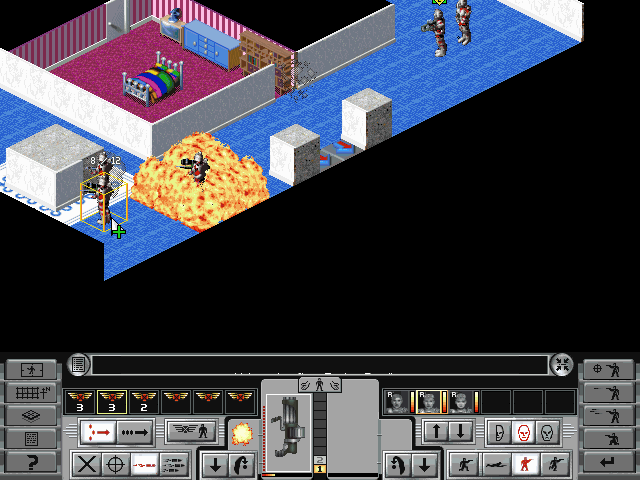
This time it hit. AP grenades explode like this.
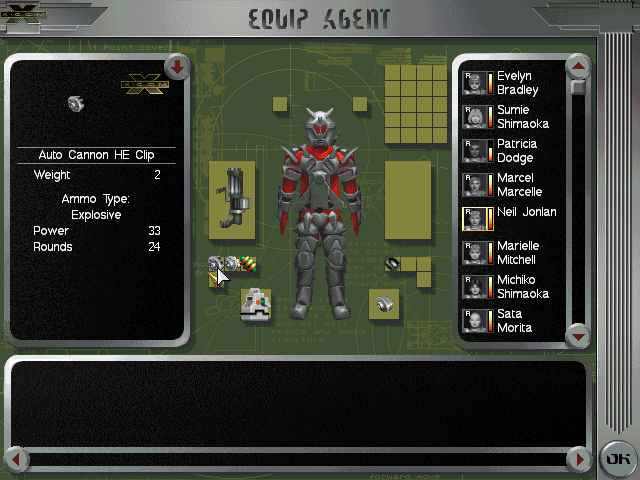
This guy has an autocannon. To switch the ammo type, just drag and drop the ammo you want to use onto the gun itself. It doesn't even take any TUs.
I put in HE rounds.
The explosion isn't as big as the AP grenade.
After taking quite a few hits, one of my men is critically injured. This means he's losing blood fast, and if he isn't treated he is going to die.
Critically-injured agents have a little blood drop over their head.

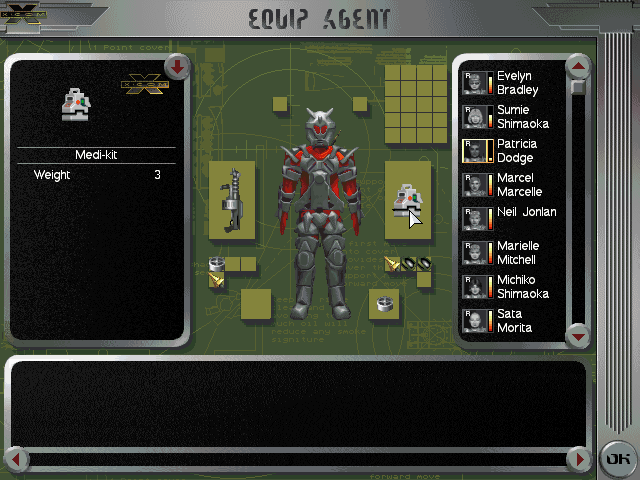
Move the Medi-Kit into his free hand in the equipment window.
Click the kit in the Battlescape and a body scan will pop up. The areas marked red are the ones that need treatment. Click the red areas and the red will go away; he's treated those injuries.
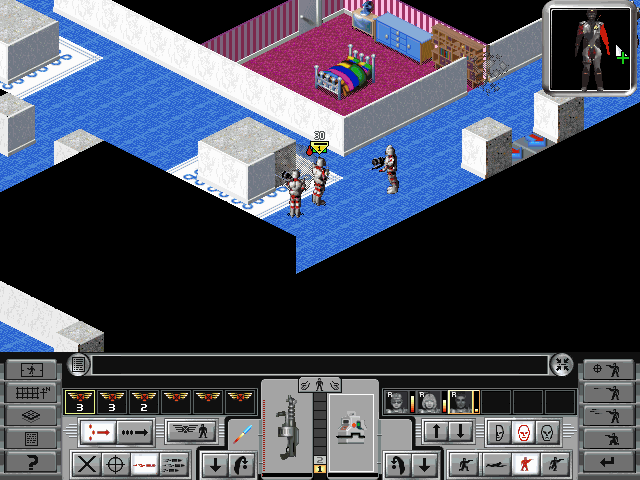
A wounded guy like this is likely to die if he enters combat.
You can have him leave the battle by walking him onto these blue and red arrows scattered around the edges of the map. He'll automatically survive the mission, then.
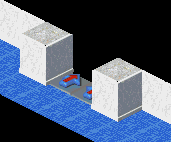
This is what stun gas looks like. Stun gas has a chance to stun anything standing in it or walking through it. If you know one of your agents is about to die, you can have him stun himself; aliens will not attack stunned men. Then he might survive the battle. Over time, the gas will dissipate.
Types of Shots
Every gun has three types of shots.

The very left button is no shot, meaning your guy will not shoot, no matter what.
The 2nd one is Aimed Shot. This takes a lot of TUs but has higher accuracy. I never really use this.
The 3rd one is the default, Snap Shot. It's right in between the other two types in terms of accuracy and TU usage.
The last one the Auto Shot. This takes the least TUs, so you can shoot a lot, but the accuracy is very low. You'll also run out of ammo faster using this.
Aggression
There are three modes of aggression. It's how your guys will respond to an alien with their leftover TUs.

The left button will make your man try to take evasive action. The right button will make your guy shoot on sight, even if the alien is far away and he hasn't got a hope in hell of hitting it. The middle one is supposed to be a balance between the two.
Stance and Movement
Here, you can order your agent to kneel, which increases his accuracy. It takes some (~5) TUs to kneel and to stand up after kneeling. Crawling increases the accuracy even more (I think?) but takes some (~10) TUs to get into crawling stance and to get up again too. It also takes more TUs to crawl around on the floor than to simply walk.
You can also choose to make an agent walk or run. You take fewer TUs to move around if you are on the running stance. I don't know if there is a downside to running instead of walking.
On the right-hand side of the console are these buttons.

I never really bothered with them before. I think they help your agent decide what action to take with extra TUs. There's a button for each type of shot, and to kneel.
Terrain Levels
The middle bar of the console can be used to change the view level.

Right now I'm looking at level 1, the bottom level. If I click the 2...
We can now see the 2nd level and the 1st level of view. Skipping to 4...
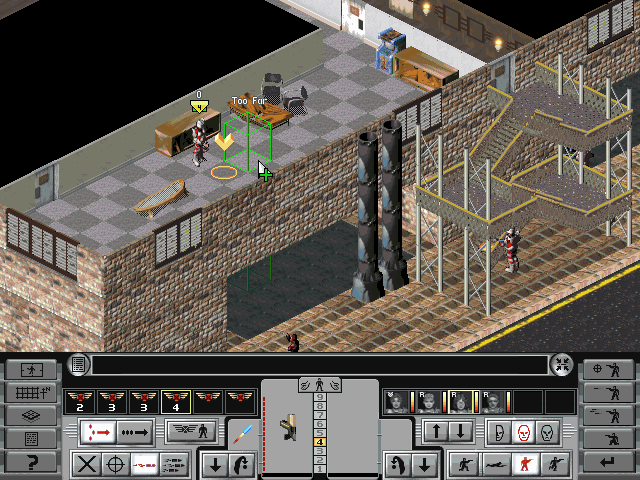
We see a whole new area that we couldn't see before. Many buildings have multiple floors, so you'll have to change the view level to see them all.
Shooting
The cursor changes to a red box with a crosshair when you mouse over a hostile unit. Yes, this alien looks like one of my own men. That's because it is.
Anyway, with an agent selected and the cursor on an enemy, right-click to shoot. That's all. The amount of TUs it takes per shot depends on the weapon, the agent's speed stat (I think?), and the type of shot.

The number shown above the red box is how many TUs will be used with a shot and how many TUs the agent still has, so you get a preview on the attack.
Combat ends when all hostile units are dead or unconscious / stunned. Then your surviving agents will take the ship back to base.
Previous --- Index --- Next
You can choose turn-based or real-time.

I like turn-based, so I'll be talking about how to play it that way. In real-time combat, you can only give basic directions to your men. They don't follow your orders very well and tend to shoot willy-nilly, wasting a lot of ammo.

Before the battle starts you can assign your men into squads. Drag and drop portraits to reform the squads. You can also check equipment.
This is the Battlescape.

See where the 3, 3, 2 is? That's where you manage your squads. Double-click one of these, and you select that entire squad.
To select one person in a squad, single-click the squad, then click the person's portrait.

I selected the squad with 2 people, and then clicked the first portrait, Michiko. You can double-click a portrait to center on that unit.
The "60" over her head is her "Time Units" (TUs). It's how much action she has left to move this turn. You can click anywhere to choose a place for her to walk to. Before clicking, the cursor will give you an estimate of how many TUs she will have left when she reaches that location.

She will have 20 TUs left after I move her to the corner here.

If you right-click, you'll change the direction the unit is facing. It takes a few TUs, but it's good to take a look around a corner before sending someone right into an alien.
When you're done moving your men, click the "End Turn" button on the lower right.
Now the aliens will move.
If one of your guys sees an alien and has some TUs leftover, he might shoot it, or try to get behind some cover. So, it might be good to leave your guys with ~10 TUs.
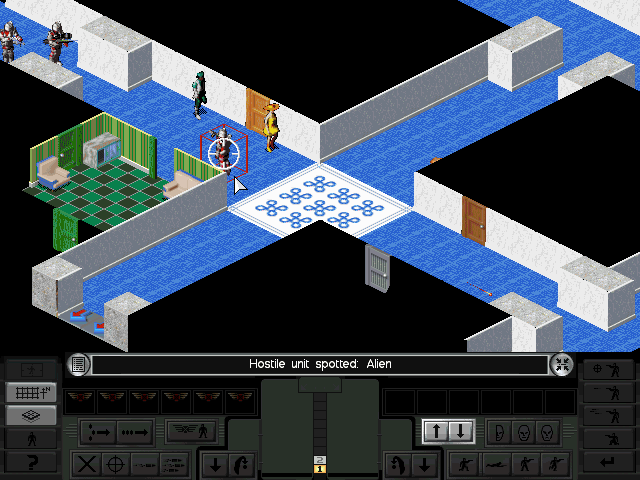
When a hostile unit is spotted, a dot will appear above the portrait of the unit that sees it.
You can click the dot to center on the enemy unit (this is good practice since you might not always see the enemy yourself even though your men can).

Oh, it's a big blue man-thing!
And these came out of nowhere.
With two enemies together like that (especially this particular alien species), it's a good opportunity to use a grenade. So here's my grenade tutorial.
In this tutorial, I'll be attacking my own people for a controlled environment.
Click the "Equip Agent" button at the top-middle of the console.

This screen should be familiar to you.

If something is on the floor, it will show up on the bottom area, so you can pick up anything that dropped (like a dead alien's weapon).
Drag and drop a grenade into the agent's free hand. Then press OK.
Click the grenade in the Battlescape to prime it.

Move the slider bar to the left so that the grenade goes off right when it lands. Other options are to make it go off when you end the turn, or in a few turns.
Then, click on a location to throw it to. This is my man's 2nd attempt; the first grenade hit the wall and broke a hole into someone's apartment. You can miss at throwing.

This time it hit. AP grenades explode like this.

This guy has an autocannon. To switch the ammo type, just drag and drop the ammo you want to use onto the gun itself. It doesn't even take any TUs.
I put in HE rounds.

The explosion isn't as big as the AP grenade.
After taking quite a few hits, one of my men is critically injured. This means he's losing blood fast, and if he isn't treated he is going to die.
Critically-injured agents have a little blood drop over their head.

Move the Medi-Kit into his free hand in the equipment window.

Click the kit in the Battlescape and a body scan will pop up. The areas marked red are the ones that need treatment. Click the red areas and the red will go away; he's treated those injuries.
A wounded guy like this is likely to die if he enters combat.
You can have him leave the battle by walking him onto these blue and red arrows scattered around the edges of the map. He'll automatically survive the mission, then.

This is what stun gas looks like. Stun gas has a chance to stun anything standing in it or walking through it. If you know one of your agents is about to die, you can have him stun himself; aliens will not attack stunned men. Then he might survive the battle. Over time, the gas will dissipate.
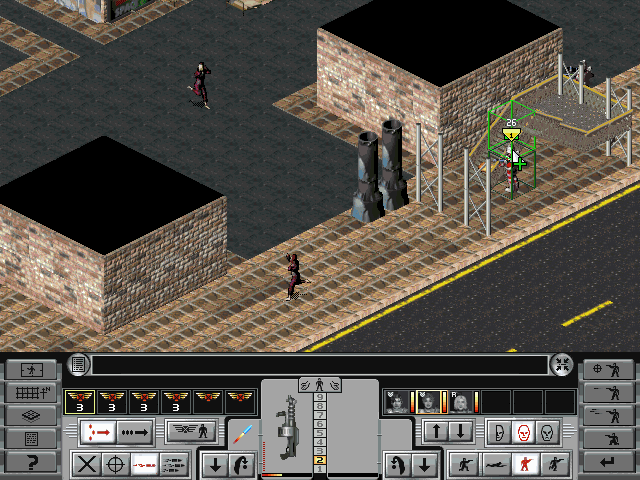
Types of Shots
Every gun has three types of shots.
The very left button is no shot, meaning your guy will not shoot, no matter what.
The 2nd one is Aimed Shot. This takes a lot of TUs but has higher accuracy. I never really use this.
The 3rd one is the default, Snap Shot. It's right in between the other two types in terms of accuracy and TU usage.
The last one the Auto Shot. This takes the least TUs, so you can shoot a lot, but the accuracy is very low. You'll also run out of ammo faster using this.
Aggression
There are three modes of aggression. It's how your guys will respond to an alien with their leftover TUs.
The left button will make your man try to take evasive action. The right button will make your guy shoot on sight, even if the alien is far away and he hasn't got a hope in hell of hitting it. The middle one is supposed to be a balance between the two.
Stance and Movement
Here, you can order your agent to kneel, which increases his accuracy. It takes some (~5) TUs to kneel and to stand up after kneeling. Crawling increases the accuracy even more (I think?) but takes some (~10) TUs to get into crawling stance and to get up again too. It also takes more TUs to crawl around on the floor than to simply walk.
You can also choose to make an agent walk or run. You take fewer TUs to move around if you are on the running stance. I don't know if there is a downside to running instead of walking.
On the right-hand side of the console are these buttons.
I never really bothered with them before. I think they help your agent decide what action to take with extra TUs. There's a button for each type of shot, and to kneel.
Terrain Levels
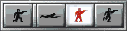
The middle bar of the console can be used to change the view level.

Right now I'm looking at level 1, the bottom level. If I click the 2...

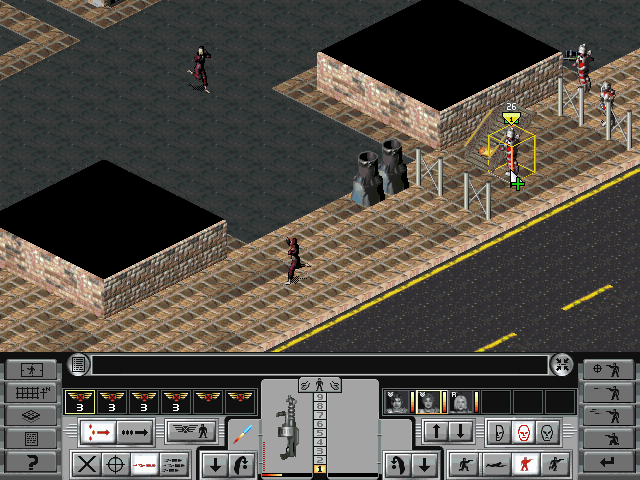
We can now see the 2nd level and the 1st level of view. Skipping to 4...

We see a whole new area that we couldn't see before. Many buildings have multiple floors, so you'll have to change the view level to see them all.
Shooting

The cursor changes to a red box with a crosshair when you mouse over a hostile unit. Yes, this alien looks like one of my own men. That's because it is.
Anyway, with an agent selected and the cursor on an enemy, right-click to shoot. That's all. The amount of TUs it takes per shot depends on the weapon, the agent's speed stat (I think?), and the type of shot.
The number shown above the red box is how many TUs will be used with a shot and how many TUs the agent still has, so you get a preview on the attack.
Combat ends when all hostile units are dead or unconscious / stunned. Then your surviving agents will take the ship back to base.
Previous --- Index --- Next


Comments
Post a Comment