Dark Wizard 40 (Asai)
Previous --- Index --- Next
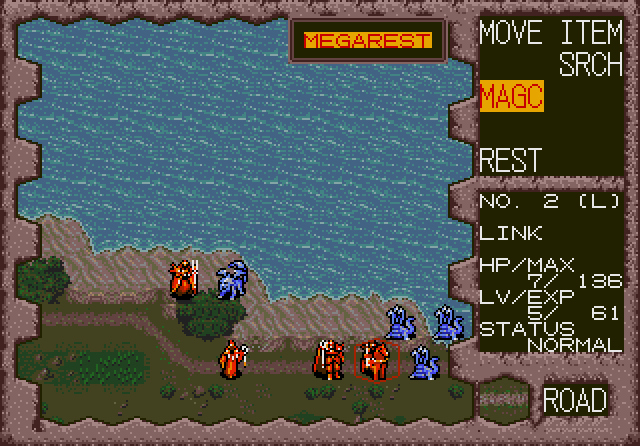
Before we get into the main update, I thought I'd (try and) explain the item management menu. You can access this between maps.
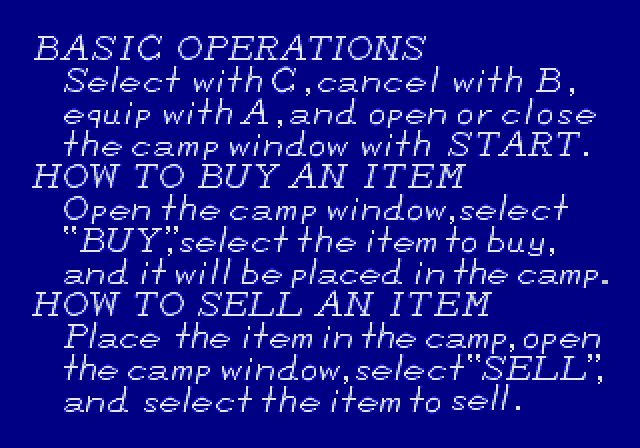
This window pops up right before you enter the equipment screen and is actually a handy reference.
Every hireling unit can carry 6 items total, including his equipped items, which are marked by a * in front of the item's name.
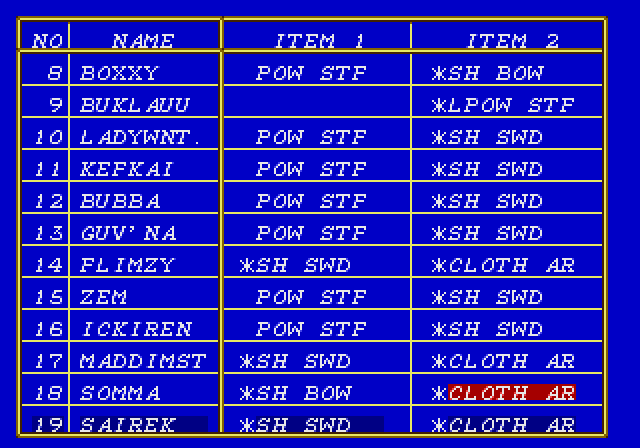
Your until roster will show up, at default only items #1 and #2 show up, but if you move the d-pad to the right the screen will scroll over to the other items.
You can select an item with C, and then you can move it into another unit's inventory. Moved items are automatically unequipped. Equipping/unequipping is done with the A button.
Oh, and since Sairek is out on a search party, I can't do anything with his inventory, which is why he is grayed out.
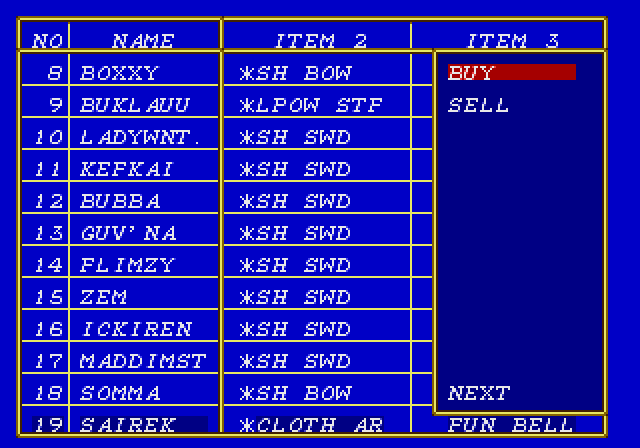
Anyway, press Start to open the BUY/SELL menu. With this menu open, you can use A to move back to the inventory and it will keep the BUY/SELL menu open at the same time. If you want to sell something, select it, move to the BUY/SELL menu with A, place it on any empty spot below the words BUY and SELL, then select SELL and then select the item.
Sounds easy, but trust me, it can be frustrating to navigate, especially since with the BUY/SELL window open, the A button no longer equips things. So you have to close that menu (the Start button again) before equipping anything.
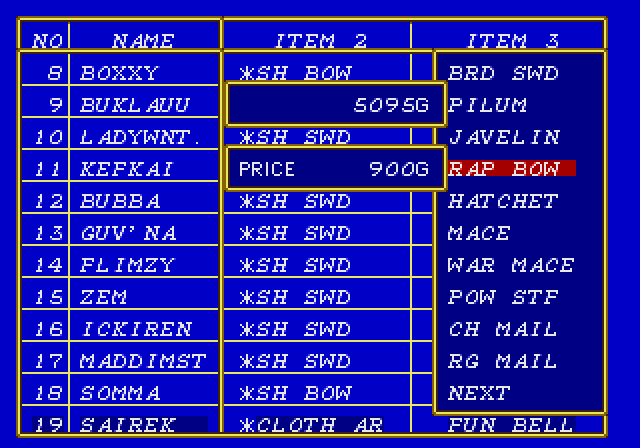
BUY will open up a menu that has items for sale. When you buy something, it's put into the BUY/SELL menu inventory and has to be manually moved down into a unit's inventory.
My main complaint with this menu is it doesn't bloody tell you if the equipment available is better or not, nor if a particular race/class can equip it. Even worse, the manual doesn't have this information, either. To find out the attack/defense rating of an item, as far as I know, you have to look at the particular character's inventory while they are deployed during a map.
If you're playing this game, I suggest saving before you do any buying or selling.
The items available depend on what castle you're at, as far as I know.
Anyway, we bought:
A LG SHD (Large Shield, 6 DEF) for Link. Mugenai took his old Small Shield (4 DEF).
Large Shields for many of our warriors.
A BAR ROBE (Barbarian Robe, 12 DEF) for Yumekai, who had no armor at all.
A RAP BOW (Rapid Bow, 15 ATK) for Mugenai. With this, his range increased by 1. I sold his SH BOW (Short Bow, 4 ATK) for 75g.
Changes:
Link equipped the SHIN KNF (Shinobi Knife, which has a whopping 41 ATK).
I gave his SCIMITAR (10 ATK) to Ladywinter, and sold her SH SWD (Short Sword, 3 ATK). You can tell who our new powerhouse is, huh?
That's about it for that.
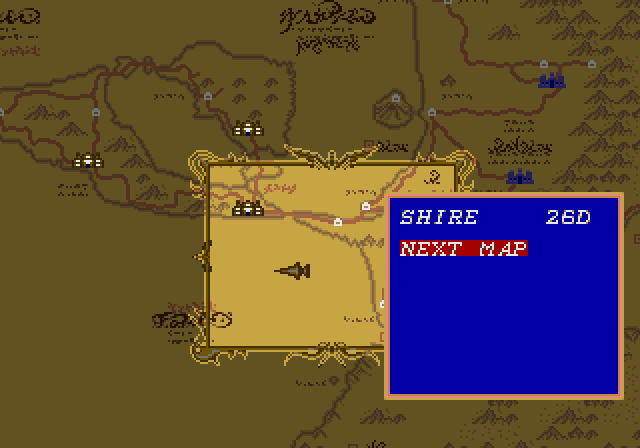
Our 5 guards (the dead units from the last map) can defend Shire for 26 days. That's 104 in-game turns. If I somehow end up taking more than 104 turns, the guards would retreat from Shire and I'd have to go through an entire battle to retake it.
Yeah, 5 guards is overkill; 1-2 normally suffice.
Scarn 13th
(Click to enlarge)
With Aqua defeated, we now enter the territory of Sheena, the wind demoness. There has been no envoy from her, and her lands are only sparsely protected at the moment.
Our goal is to reach Asai, the town across the river to the northwest of her castle, and speak with the friend of that evil priest who has Susan's Staff.


Uh, dude, we know where Susan is. Someone isn't paying attention.
Sheena has a number of hireling units around.
There's a ruin guarded by hydras.
We're told the far southern peninsula has a shrine, and the sea nearby it contains odd, churning water.
This region of our fair kingdom is closest to Viosdia, the island on which Velonese awaits. In the future, we will have to find a way across the rough waters and onto his island.
You can see a new enemy unit here: the Hippogriff. If we played as Robin we could summon them instead of our manticores.
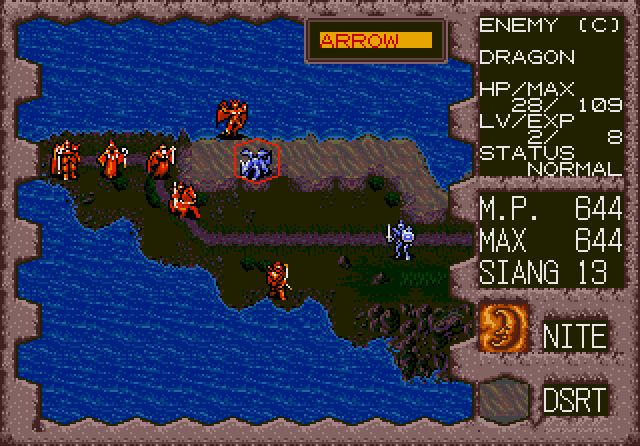
Our first contact with the enemy is a Chaotic-type dragon. It has a fire breath attack. Oh, I never mentioned that all the dragons are different.
Lawful: Fire Breath. We won't see this as an enemy because, well, the demon lords simply aren't lawful. Leader Armer IX can summon this type.
Neutral: Ice Breath. Aqua had this type of dragon. Leader Robin can summon this type.
Chaotic: Fire Breath. Sheena has this type of dragons. Leader Kristell can summon this type.
Undead: Earth/Erupt Breath. We have this type of dragon and so did Aracna.
The chaotic dragons are special in that their final form can fly. We may or may not see some of them soon.
Mugenai shows off the increased range (3 hexes) of his newly-purchased Rapid Bow.
He earned a promotion for his marksmanship.

Attack +15, Defense +2, Mobility +1. This is his final class.
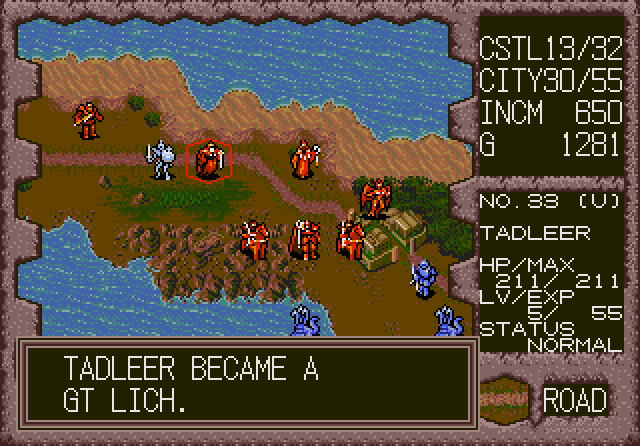
Tadleer glided on ahead and paralyzed the skeleton knight.
This is the 3rd class of skeleton. It's still an easy-to-defeat monster.
Since we've never seen a hippogriff before, the king decided to test the waters, so to speak, and hit it with his magic.
At the beginning of the next turn, Sheena's actions seem very familiar.
For whatever reason, the skeletal knight is precious to her.
At the end of her turn, Sheena summons a skeleton knight and a great manticore. Note that she's got other units clumping together around her at the castle. I think I triggered this by using Blade Storm on some of the units by her. This map has her at a disadvantage; the spot directly to the right of her is unavailable; the map was designed with that as the eastern edge. So, at most she can summon 5 units/turn instead of 6.
Theoretically, this should make it harder for me to surround and defeat her, too, since I can only have 5 fighting units next to her when I get there.
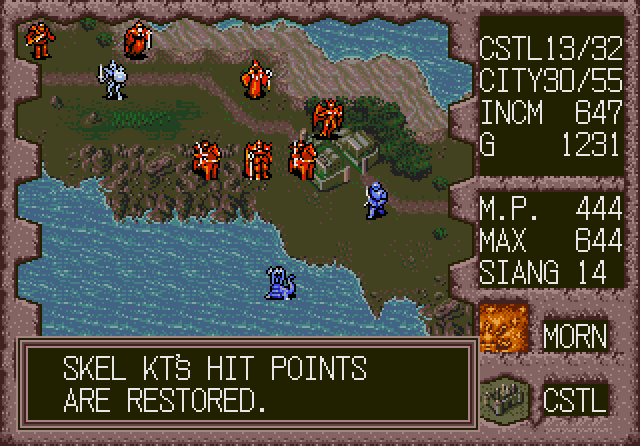
Siang 14th
Tadleer is on quite the roll.
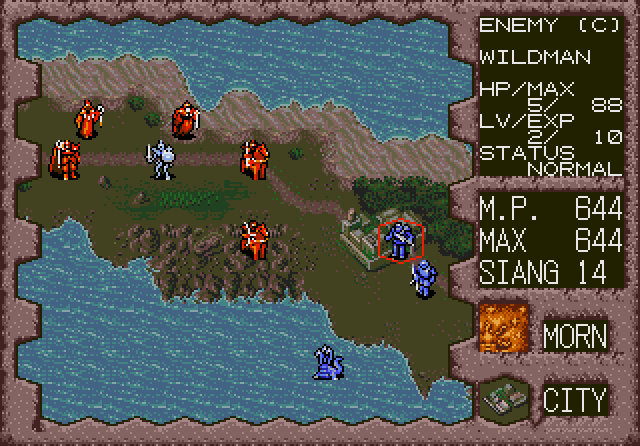
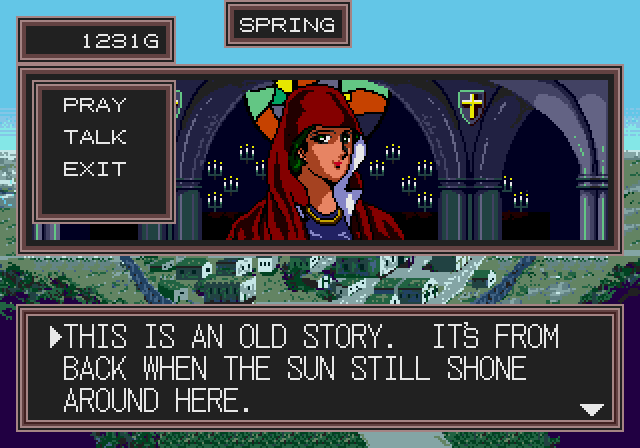
Instead of killing the injured wildman, Link decides to head into town. Maybe we'll learn something more about Susan.
Well, Link is a warrior...

It's morning right now. Next turn will be noon.
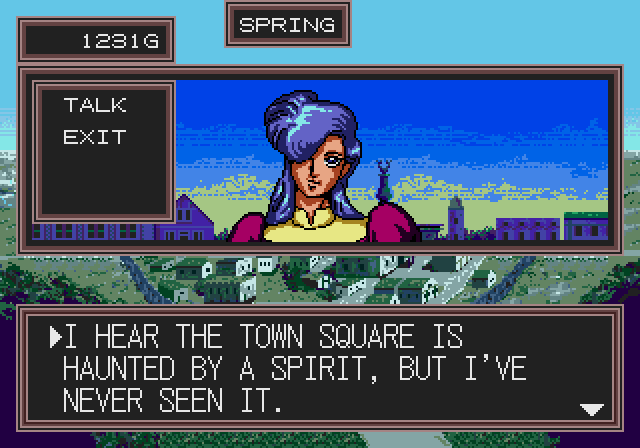
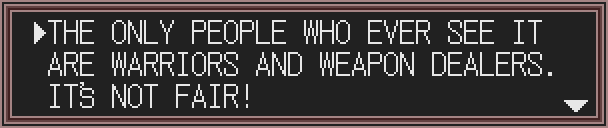
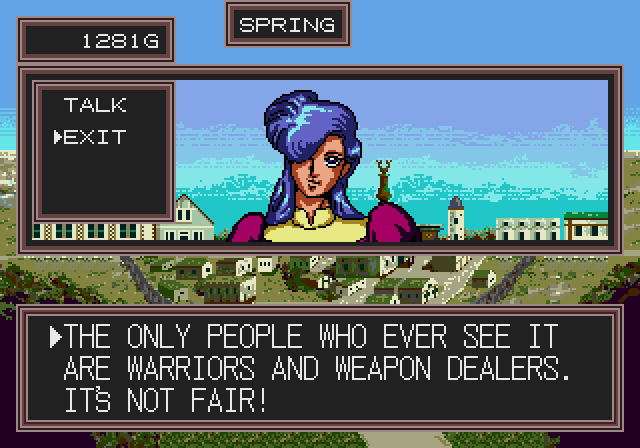
Stealing the entire city's stores of gold and silver can't exactly be considered 'good,' my good man.
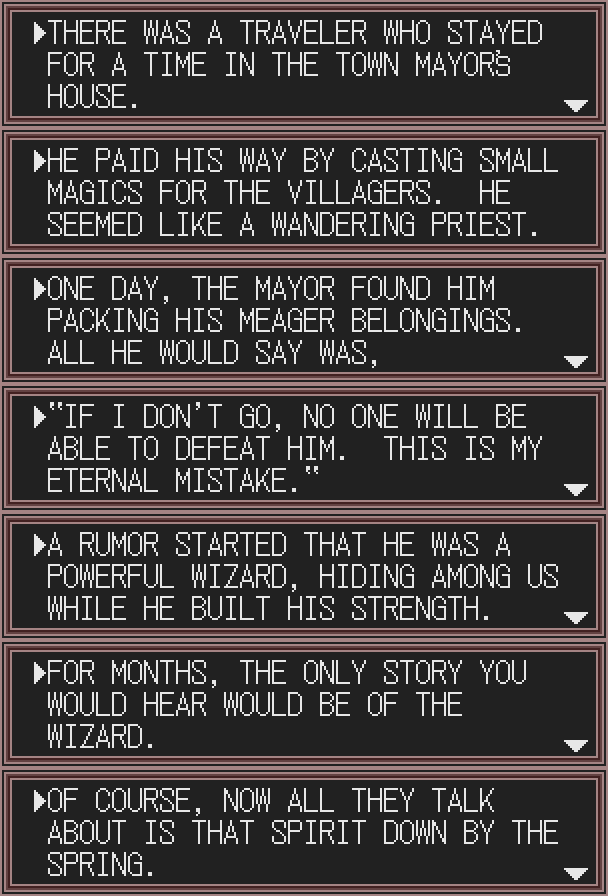
The spirit story is actually the one we want to hear more about. Solving little troubles and bringing life back to normal for everyone is part of our job!
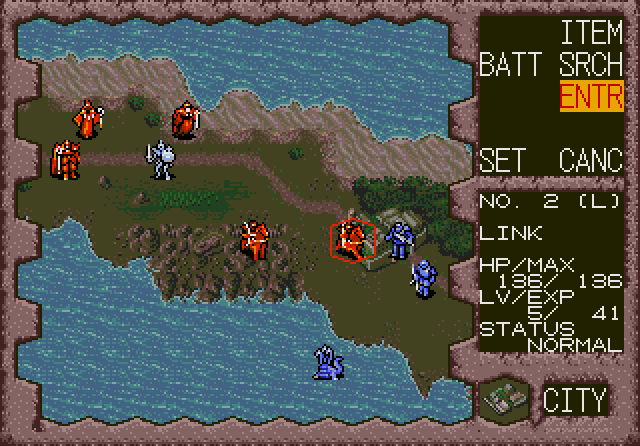
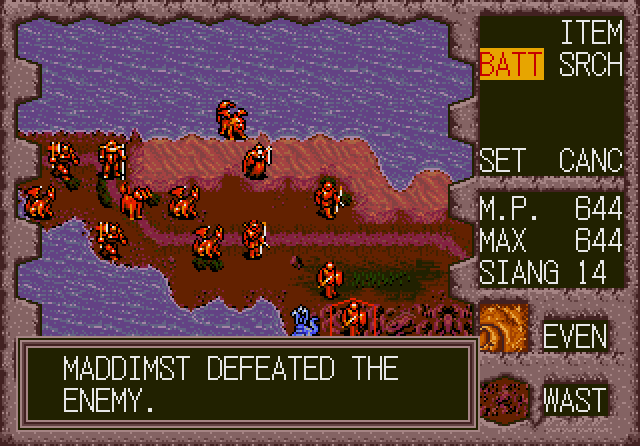
Our harpy took care of that enemy wildman.
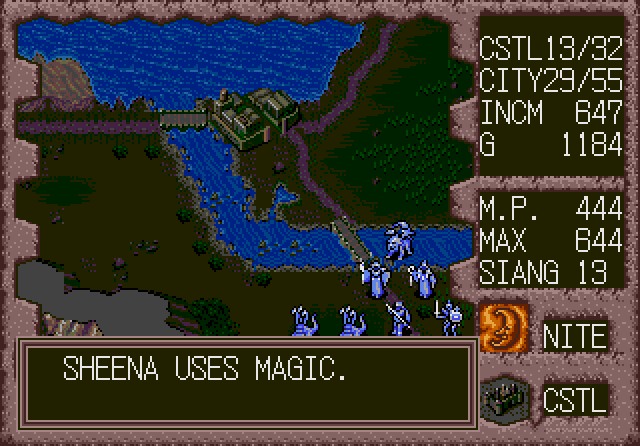
SHEENA USES MAGIC.
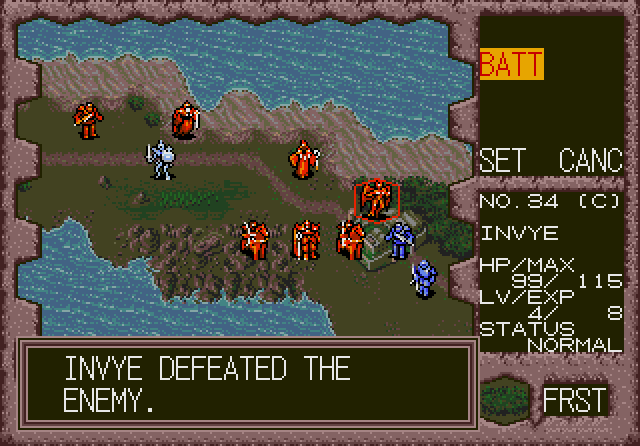
For the third time in a row, Tadleer successfully paralyzed the skeleton knight, and his efforts were paid off.
Limelle took out the archer with ease.
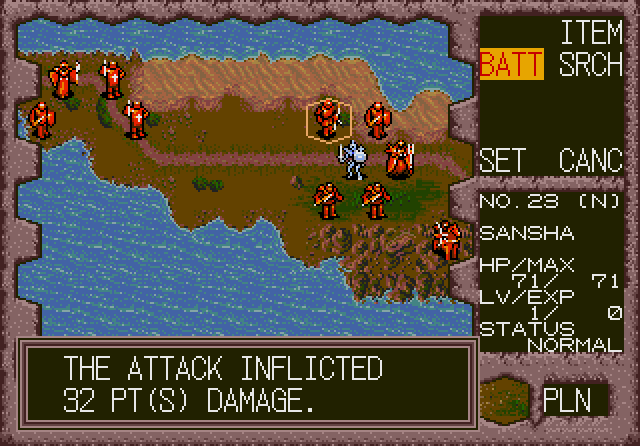
Unfortunately, in purchasing our new equipment, we forgot that our new archer, Sansha, needed a bow. We regret selling Mugenai's old short bow, now.
I.e. Sansha must melee. Her damage is actually quite comparable to our wildmen and fighter, probably because they are all still using the same old short sword.
At noon, Link revisited the town square, but reported that he caught no sight of the rumored spirit.
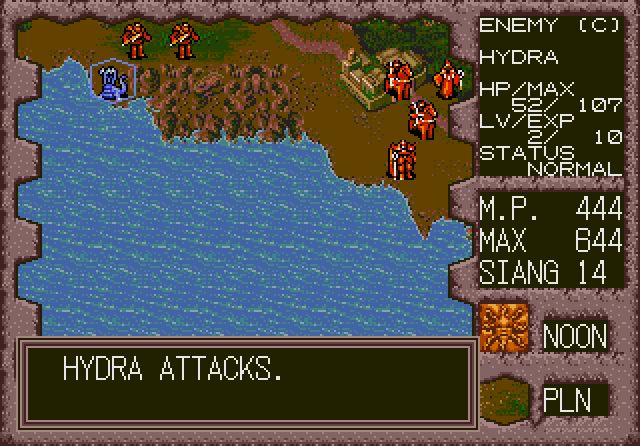
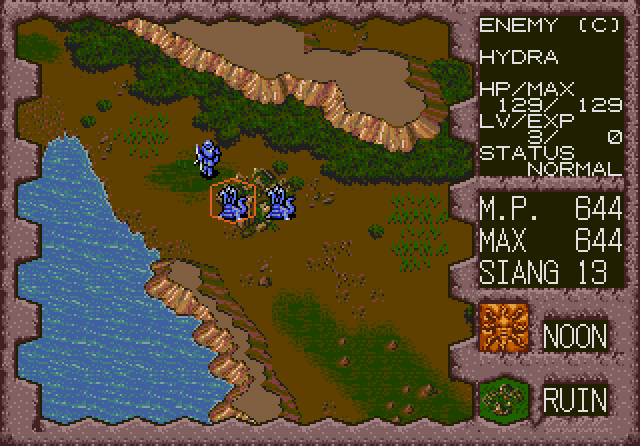
Hydras are still painful enemies. Nothing new.
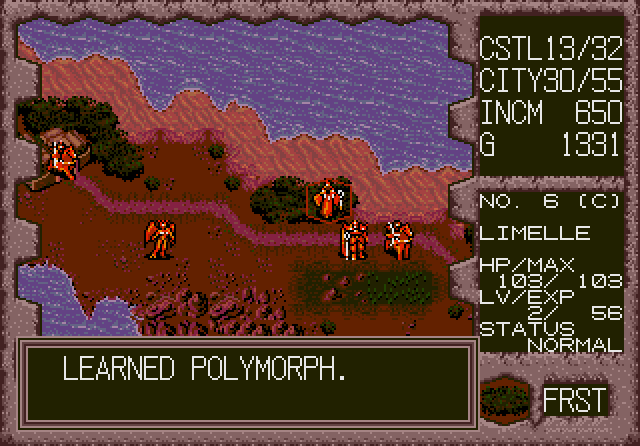
Limelle improved her goat spell after failing to transform Buklauu.
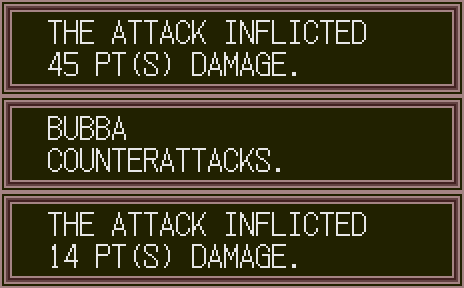
The counterattack Vespera received from the hydra put her into critical condition,
but fortunately the beast was slain by her comrade.
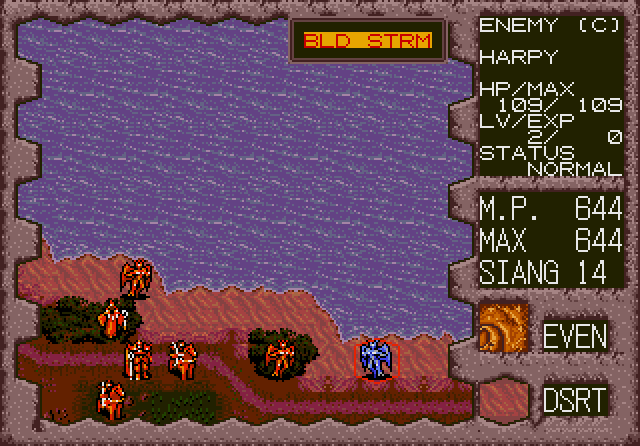
An incoming harpy received a rude welcome.
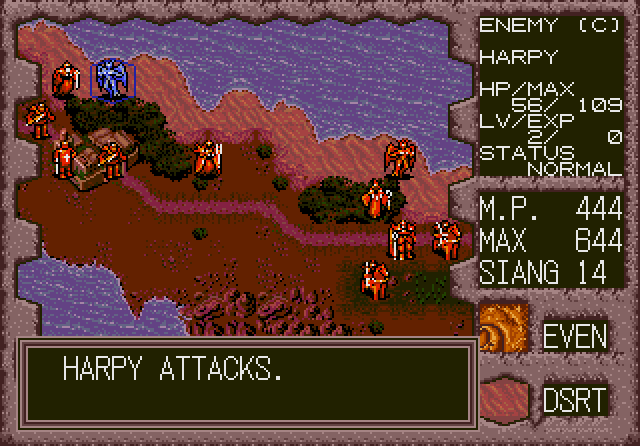
Said harpy attacked MJ for a reason that could only make sense to her.
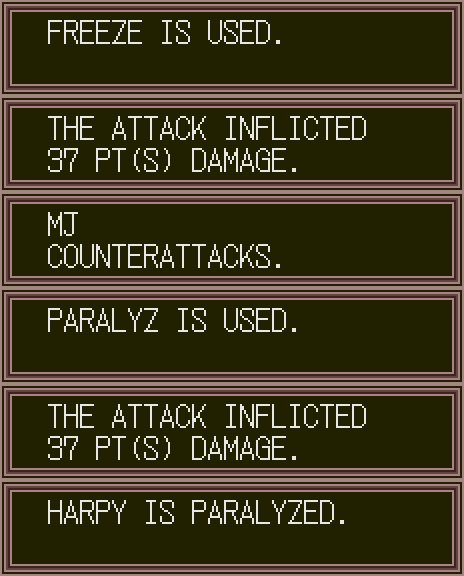
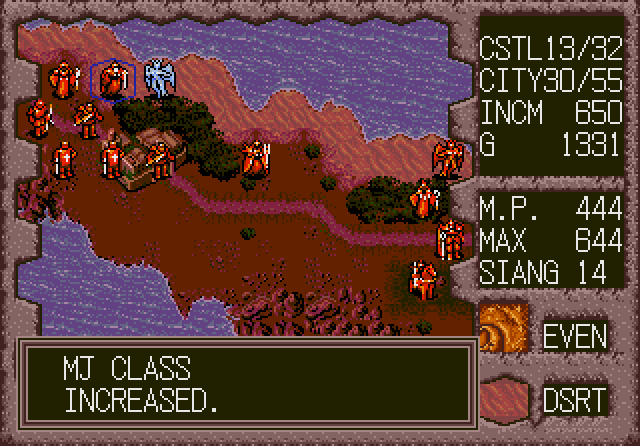
It gave MJ his class change. We only have one more ghost yet to achieve the final class: Banquo.
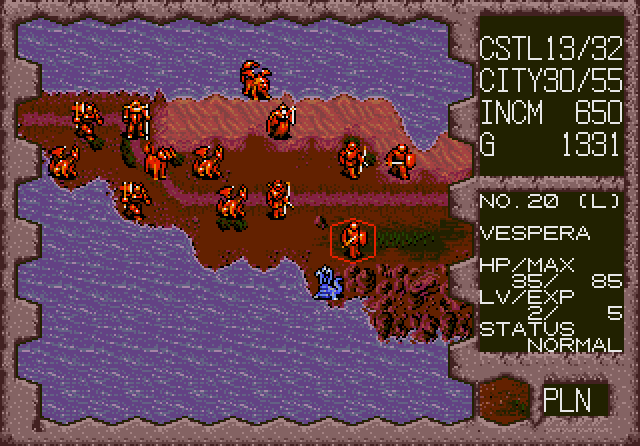
We told Invye to lie low instead of antagonizing the incoming hydras. She's a precious asset and, as we've seen many times now, very fragile.
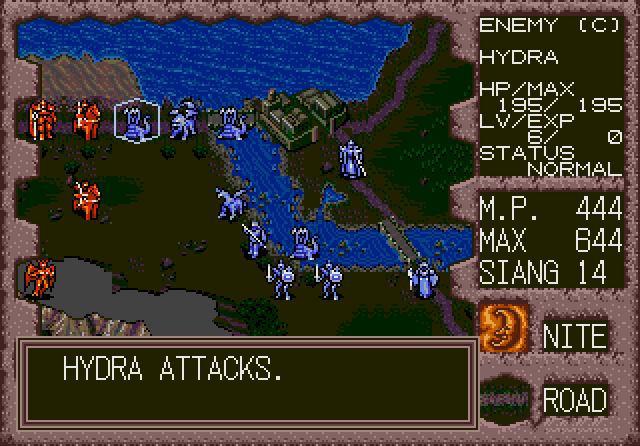
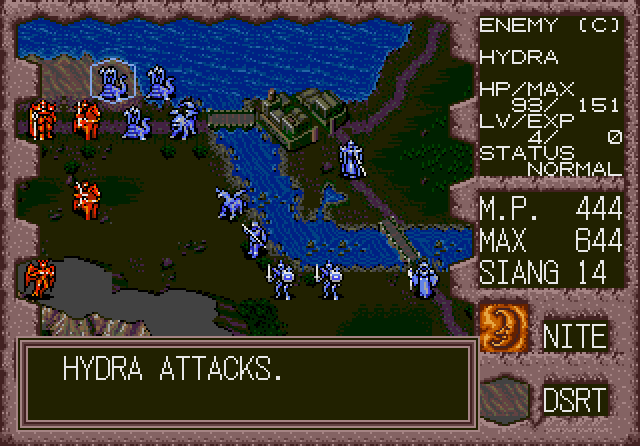
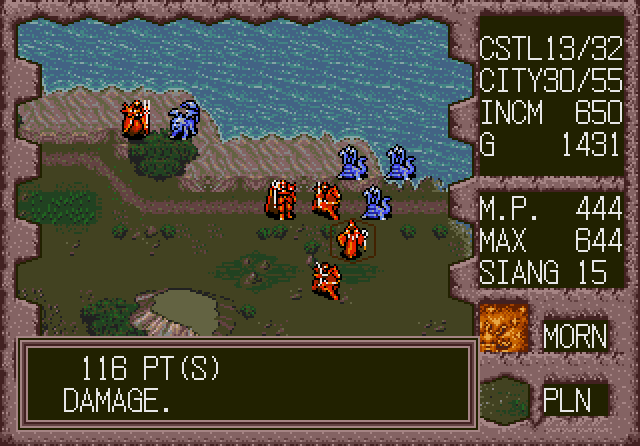
The hydras seem to see Link's horse as easy prey.
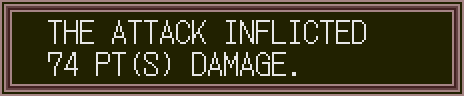
Ouch. Fortunately, the third hydra could not reach him.
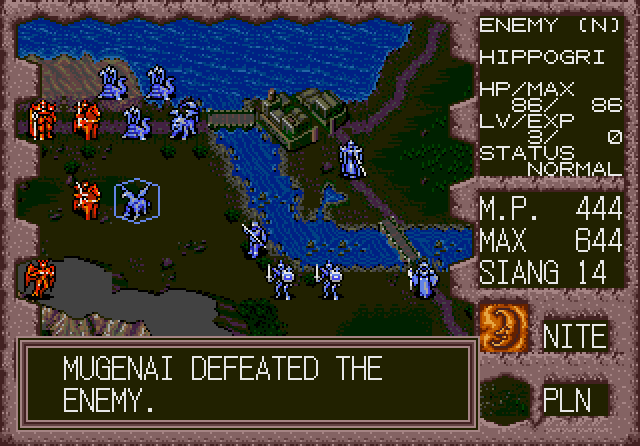
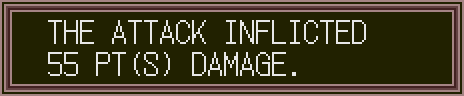
The hippogriff turned out to be less than a threat.
Link's in luck, for the manticore decided to attack one of our great liches.
Actually, manticores are rather effective against undead units. It hit 76 on MJ.
Siang 15th
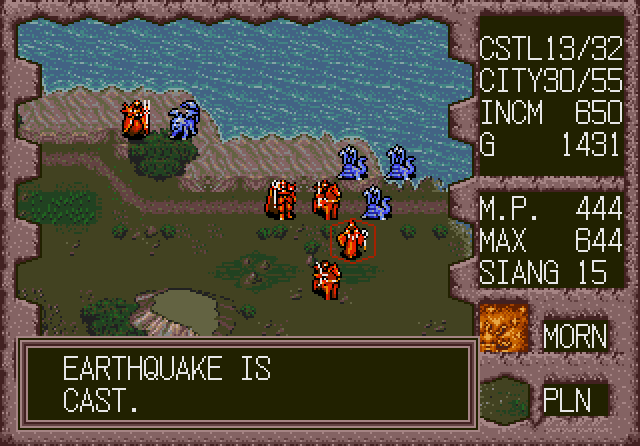
First thing in the morning, Link received emergency assistance.
The hydras are making quite the roadblock in the way to the city of Asai.
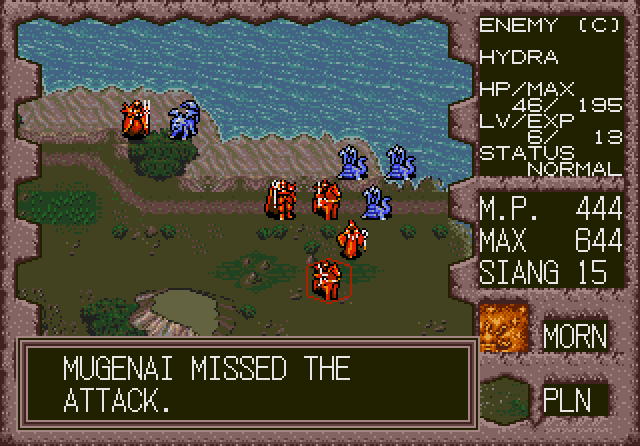
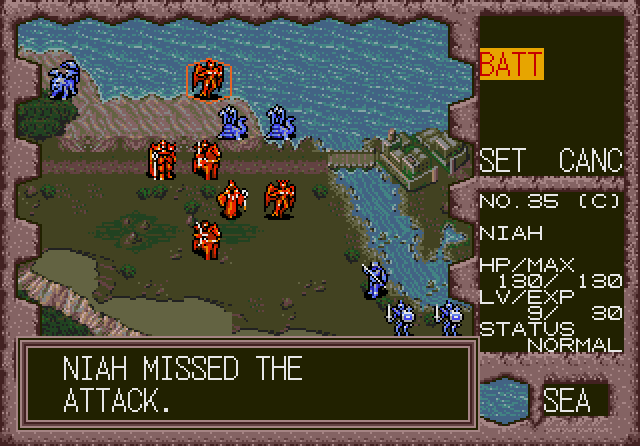
So much for our ranger's marksmanship. It seems he has to get used to riding a horse.
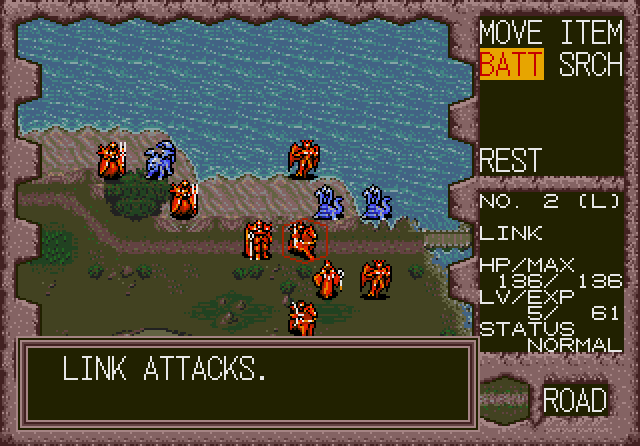
One down, two to go.
With no other choice, Link goes for the kill. A risky maneuver, to be sure.

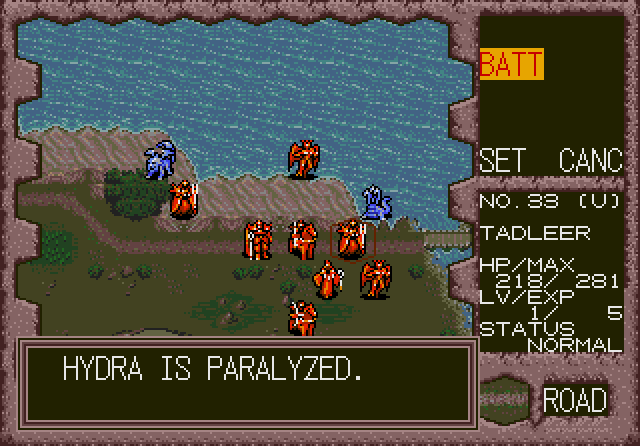
Tadleer is 4 for 4 on paralyzing things! That's all three hydras taken care of.
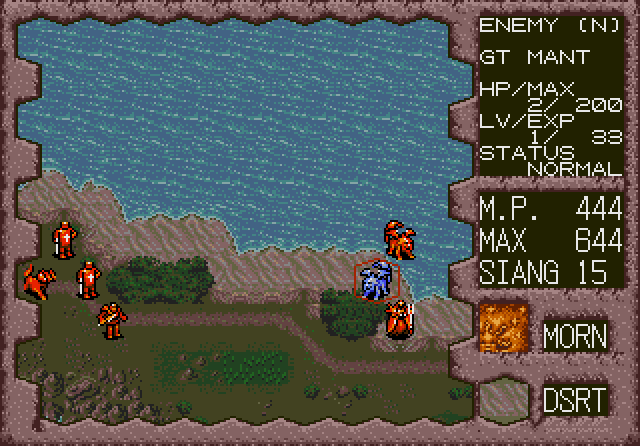
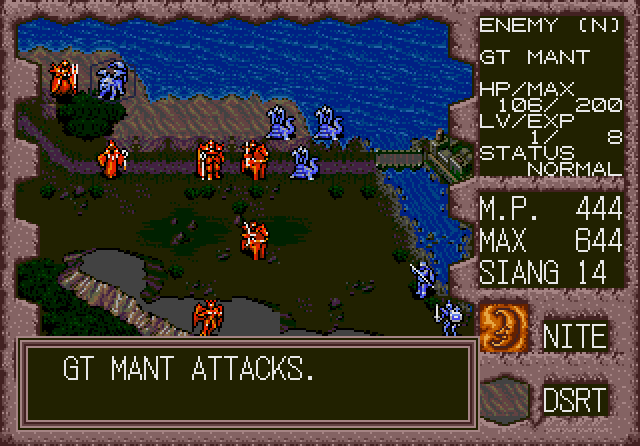
Jim left the enemy manticore in critical condition.
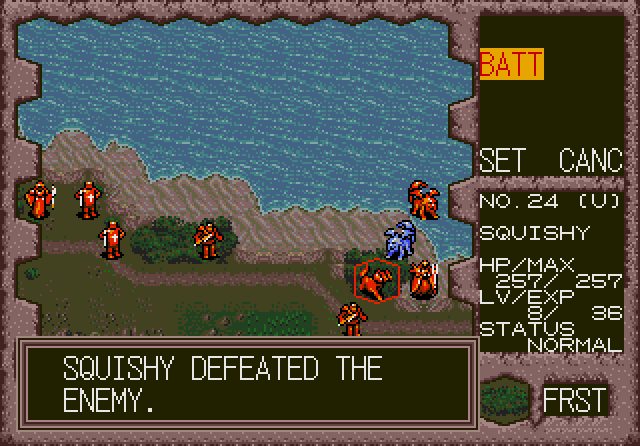
Enough for Squishy to have the honor.
A griffin is the class-changed version of a hippogriff.
It is still no threat.
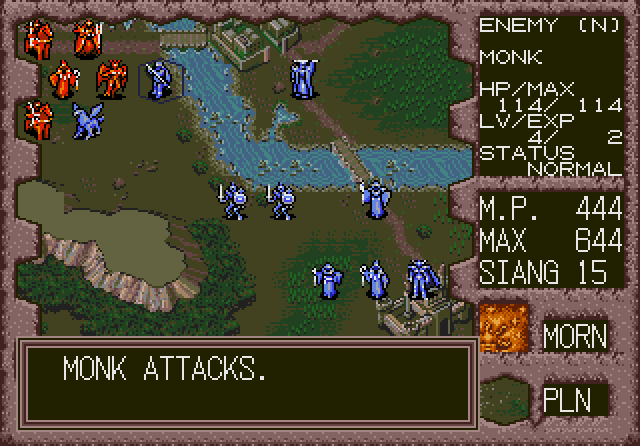
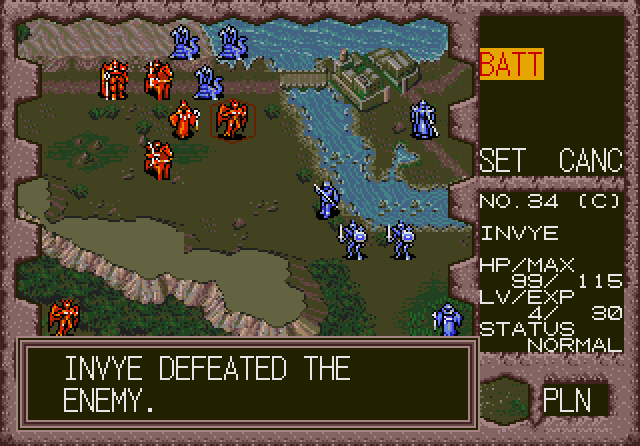
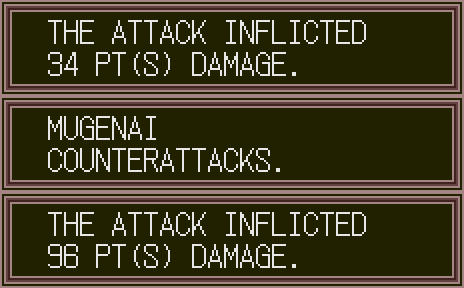
Instead of using magic, the enemy monk attacked Invye.
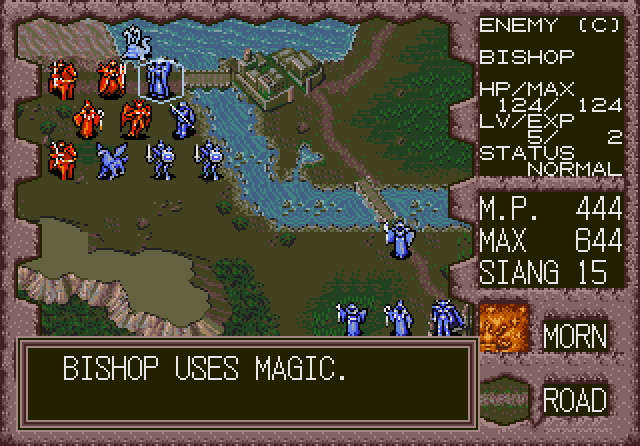
The enemy bishop stepped forward
and unleashed his terrible magic on Tadleer.
As expected, priestly magic is rather effective against the undead.
Sheena summoned another griffin and a great manticore.
For the previous three turns, for some reason, Sheena summoned no units, which is why it was easygoing until we got closer to her.
Previous --- Index --- Next
Before we get into the main update, I thought I'd (try and) explain the item management menu. You can access this between maps.
This window pops up right before you enter the equipment screen and is actually a handy reference.
Every hireling unit can carry 6 items total, including his equipped items, which are marked by a * in front of the item's name.
Your until roster will show up, at default only items #1 and #2 show up, but if you move the d-pad to the right the screen will scroll over to the other items.
You can select an item with C, and then you can move it into another unit's inventory. Moved items are automatically unequipped. Equipping/unequipping is done with the A button.
Oh, and since Sairek is out on a search party, I can't do anything with his inventory, which is why he is grayed out.
Anyway, press Start to open the BUY/SELL menu. With this menu open, you can use A to move back to the inventory and it will keep the BUY/SELL menu open at the same time. If you want to sell something, select it, move to the BUY/SELL menu with A, place it on any empty spot below the words BUY and SELL, then select SELL and then select the item.
Sounds easy, but trust me, it can be frustrating to navigate, especially since with the BUY/SELL window open, the A button no longer equips things. So you have to close that menu (the Start button again) before equipping anything.
BUY will open up a menu that has items for sale. When you buy something, it's put into the BUY/SELL menu inventory and has to be manually moved down into a unit's inventory.
My main complaint with this menu is it doesn't bloody tell you if the equipment available is better or not, nor if a particular race/class can equip it. Even worse, the manual doesn't have this information, either. To find out the attack/defense rating of an item, as far as I know, you have to look at the particular character's inventory while they are deployed during a map.
If you're playing this game, I suggest saving before you do any buying or selling.
The items available depend on what castle you're at, as far as I know.
Anyway, we bought:
A LG SHD (Large Shield, 6 DEF) for Link. Mugenai took his old Small Shield (4 DEF).
Large Shields for many of our warriors.
A BAR ROBE (Barbarian Robe, 12 DEF) for Yumekai, who had no armor at all.
A RAP BOW (Rapid Bow, 15 ATK) for Mugenai. With this, his range increased by 1. I sold his SH BOW (Short Bow, 4 ATK) for 75g.
Changes:
Link equipped the SHIN KNF (Shinobi Knife, which has a whopping 41 ATK).
I gave his SCIMITAR (10 ATK) to Ladywinter, and sold her SH SWD (Short Sword, 3 ATK). You can tell who our new powerhouse is, huh?
That's about it for that.
Our 5 guards (the dead units from the last map) can defend Shire for 26 days. That's 104 in-game turns. If I somehow end up taking more than 104 turns, the guards would retreat from Shire and I'd have to go through an entire battle to retake it.
Yeah, 5 guards is overkill; 1-2 normally suffice.
Scarn 13th

(Click to enlarge)
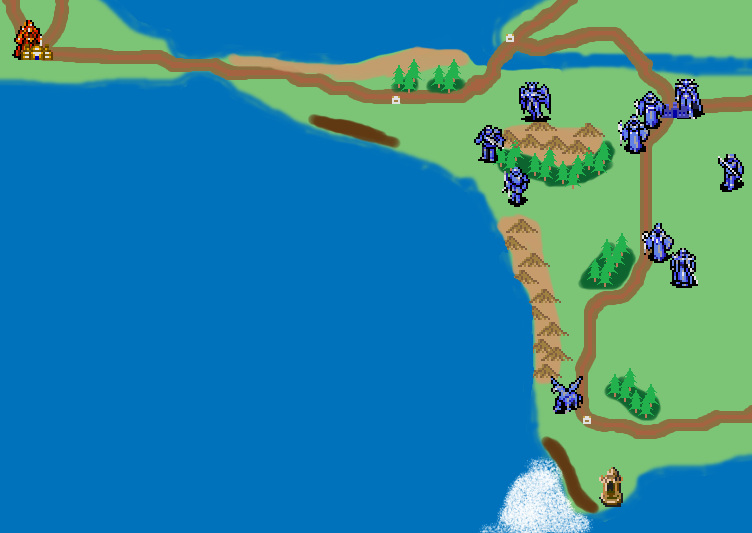
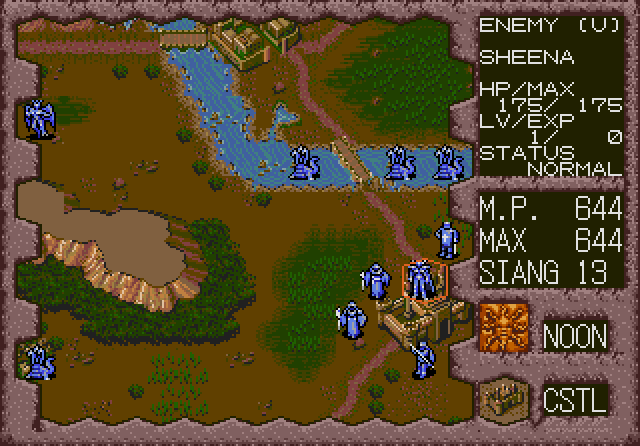
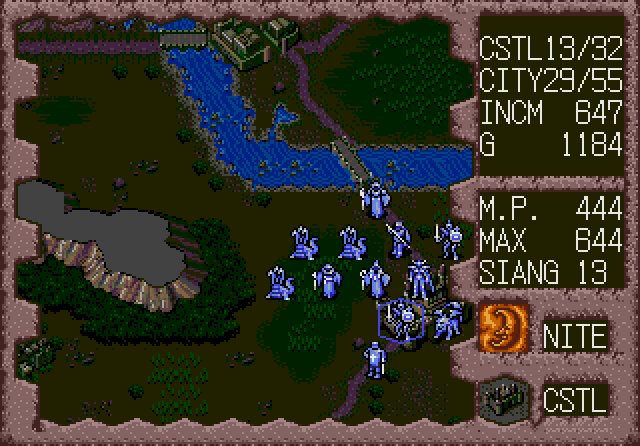
With Aqua defeated, we now enter the territory of Sheena, the wind demoness. There has been no envoy from her, and her lands are only sparsely protected at the moment.
Our goal is to reach Asai, the town across the river to the northwest of her castle, and speak with the friend of that evil priest who has Susan's Staff.
Uh, dude, we know where Susan is. Someone isn't paying attention.
Sheena has a number of hireling units around.
There's a ruin guarded by hydras.
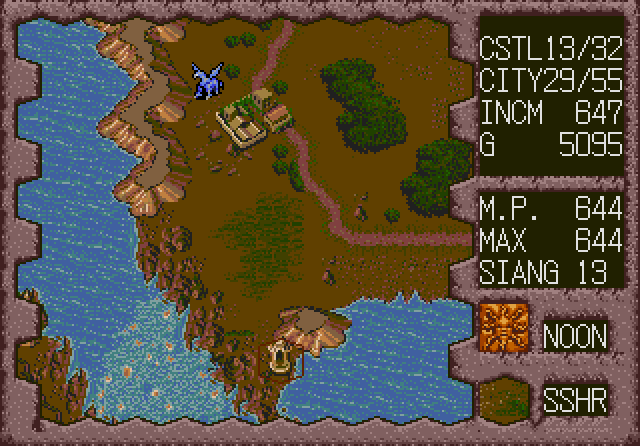
We're told the far southern peninsula has a shrine, and the sea nearby it contains odd, churning water.
This region of our fair kingdom is closest to Viosdia, the island on which Velonese awaits. In the future, we will have to find a way across the rough waters and onto his island.
You can see a new enemy unit here: the Hippogriff. If we played as Robin we could summon them instead of our manticores.
Our first contact with the enemy is a Chaotic-type dragon. It has a fire breath attack. Oh, I never mentioned that all the dragons are different.
Lawful: Fire Breath. We won't see this as an enemy because, well, the demon lords simply aren't lawful. Leader Armer IX can summon this type.
Neutral: Ice Breath. Aqua had this type of dragon. Leader Robin can summon this type.
Chaotic: Fire Breath. Sheena has this type of dragons. Leader Kristell can summon this type.
Undead: Earth/Erupt Breath. We have this type of dragon and so did Aracna.
The chaotic dragons are special in that their final form can fly. We may or may not see some of them soon.
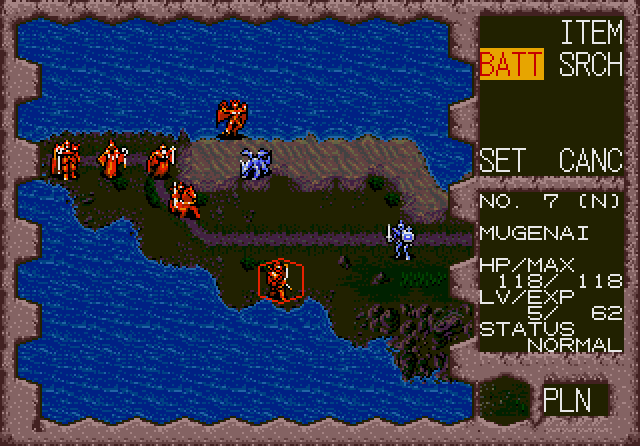
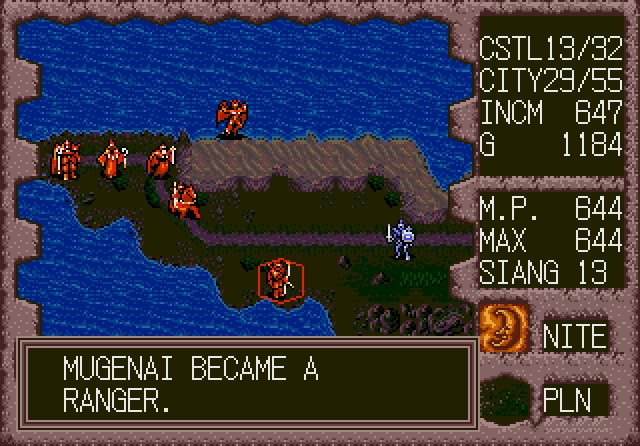
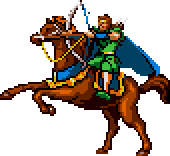
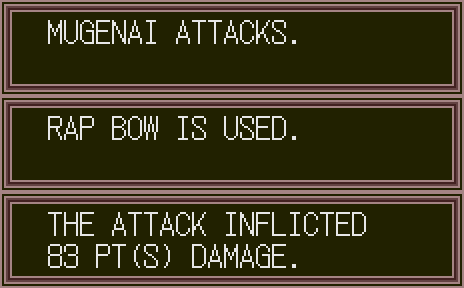
Mugenai shows off the increased range (3 hexes) of his newly-purchased Rapid Bow.
He earned a promotion for his marksmanship.
Attack +15, Defense +2, Mobility +1. This is his final class.
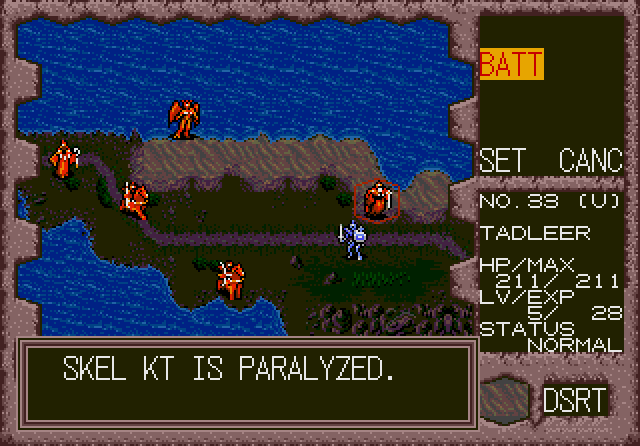
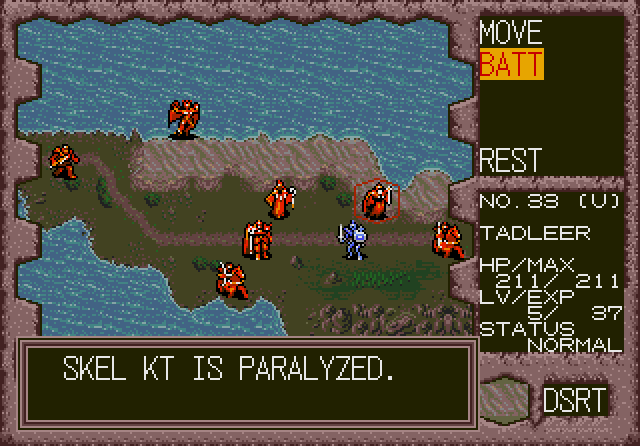
Tadleer glided on ahead and paralyzed the skeleton knight.
This is the 3rd class of skeleton. It's still an easy-to-defeat monster.
Since we've never seen a hippogriff before, the king decided to test the waters, so to speak, and hit it with his magic.
At the beginning of the next turn, Sheena's actions seem very familiar.
For whatever reason, the skeletal knight is precious to her.
At the end of her turn, Sheena summons a skeleton knight and a great manticore. Note that she's got other units clumping together around her at the castle. I think I triggered this by using Blade Storm on some of the units by her. This map has her at a disadvantage; the spot directly to the right of her is unavailable; the map was designed with that as the eastern edge. So, at most she can summon 5 units/turn instead of 6.
Theoretically, this should make it harder for me to surround and defeat her, too, since I can only have 5 fighting units next to her when I get there.
Siang 14th
Tadleer is on quite the roll.
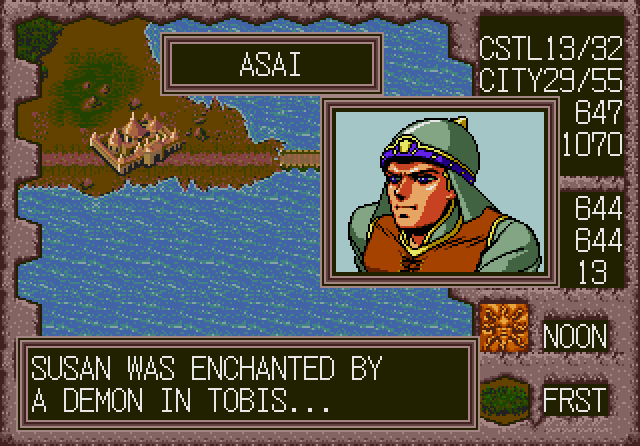
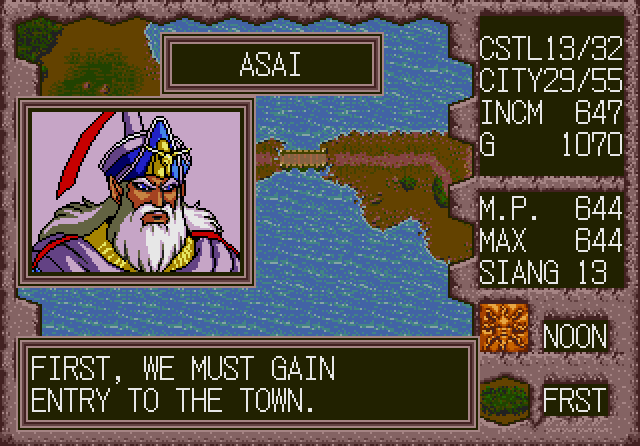
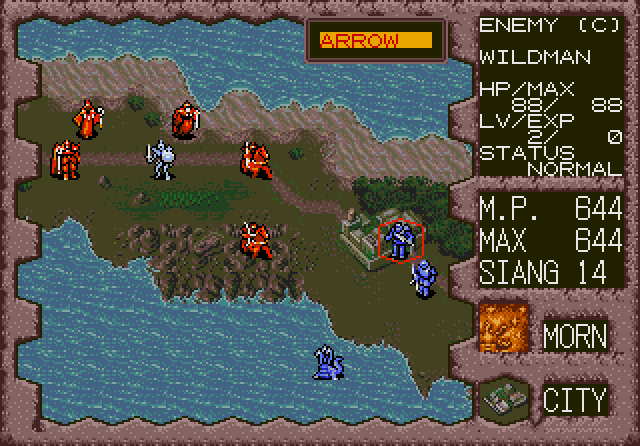
Instead of killing the injured wildman, Link decides to head into town. Maybe we'll learn something more about Susan.
Well, Link is a warrior...
It's morning right now. Next turn will be noon.
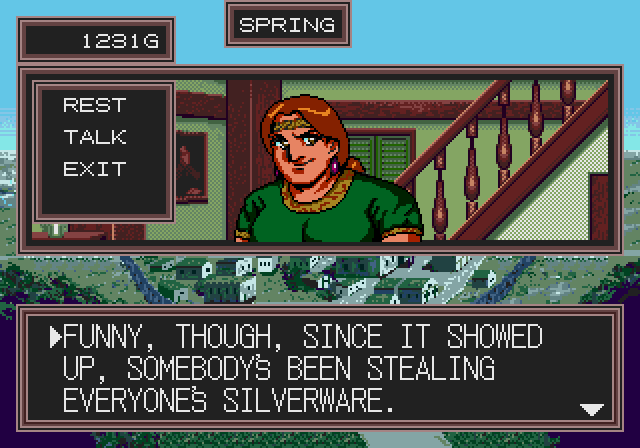
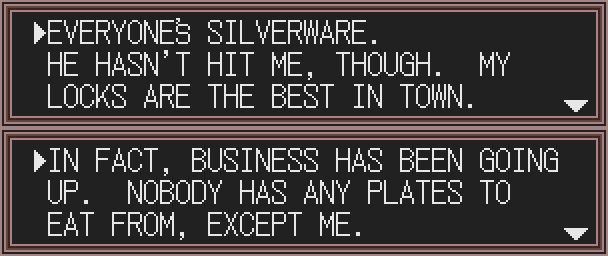
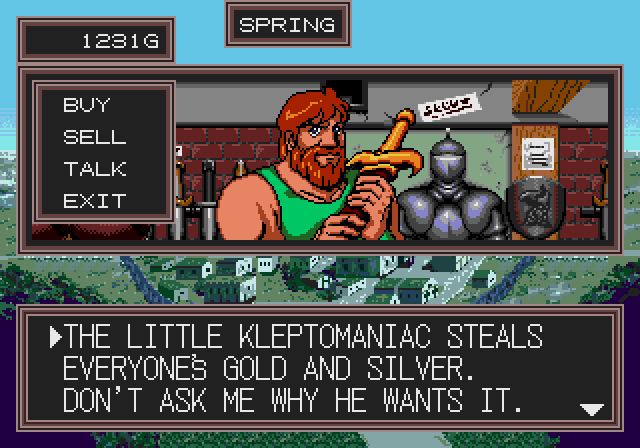
Stealing the entire city's stores of gold and silver can't exactly be considered 'good,' my good man.
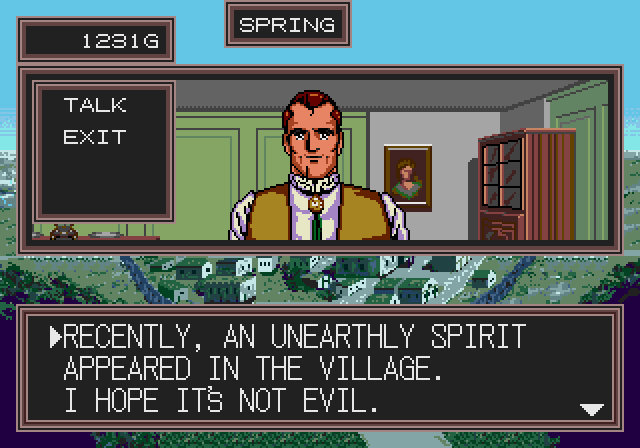
The spirit story is actually the one we want to hear more about. Solving little troubles and bringing life back to normal for everyone is part of our job!
Our harpy took care of that enemy wildman.
SHEENA USES MAGIC.
For the third time in a row, Tadleer successfully paralyzed the skeleton knight, and his efforts were paid off.
Limelle took out the archer with ease.
Unfortunately, in purchasing our new equipment, we forgot that our new archer, Sansha, needed a bow. We regret selling Mugenai's old short bow, now.
I.e. Sansha must melee. Her damage is actually quite comparable to our wildmen and fighter, probably because they are all still using the same old short sword.
At noon, Link revisited the town square, but reported that he caught no sight of the rumored spirit.
Hydras are still painful enemies. Nothing new.
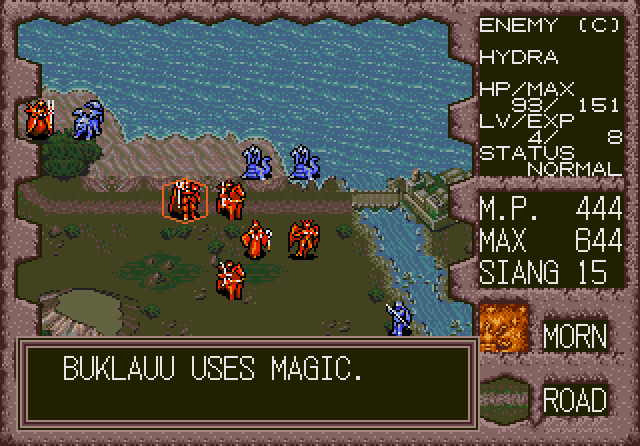
Limelle improved her goat spell after failing to transform Buklauu.
The counterattack Vespera received from the hydra put her into critical condition,
but fortunately the beast was slain by her comrade.
An incoming harpy received a rude welcome.
Said harpy attacked MJ for a reason that could only make sense to her.
It gave MJ his class change. We only have one more ghost yet to achieve the final class: Banquo.
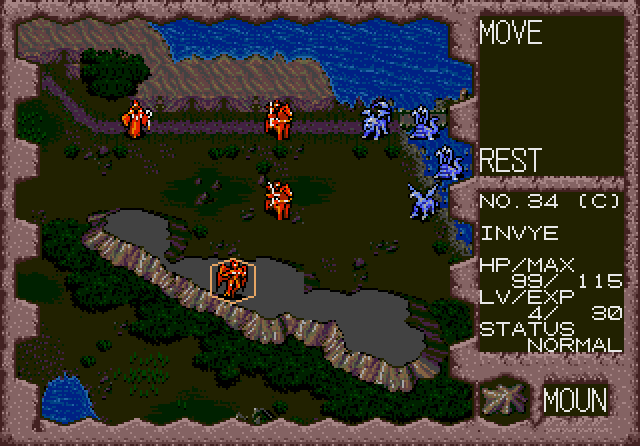
We told Invye to lie low instead of antagonizing the incoming hydras. She's a precious asset and, as we've seen many times now, very fragile.
The hydras seem to see Link's horse as easy prey.
Ouch. Fortunately, the third hydra could not reach him.
The hippogriff turned out to be less than a threat.
Link's in luck, for the manticore decided to attack one of our great liches.
Actually, manticores are rather effective against undead units. It hit 76 on MJ.
Siang 15th
First thing in the morning, Link received emergency assistance.
The hydras are making quite the roadblock in the way to the city of Asai.
So much for our ranger's marksmanship. It seems he has to get used to riding a horse.
One down, two to go.
With no other choice, Link goes for the kill. A risky maneuver, to be sure.
Tadleer is 4 for 4 on paralyzing things! That's all three hydras taken care of.
Jim left the enemy manticore in critical condition.
Enough for Squishy to have the honor.
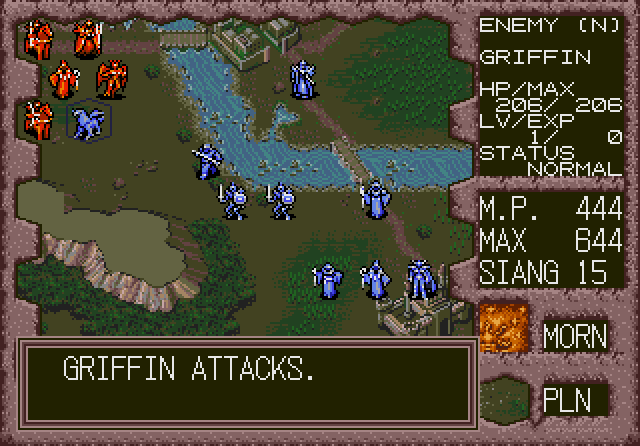
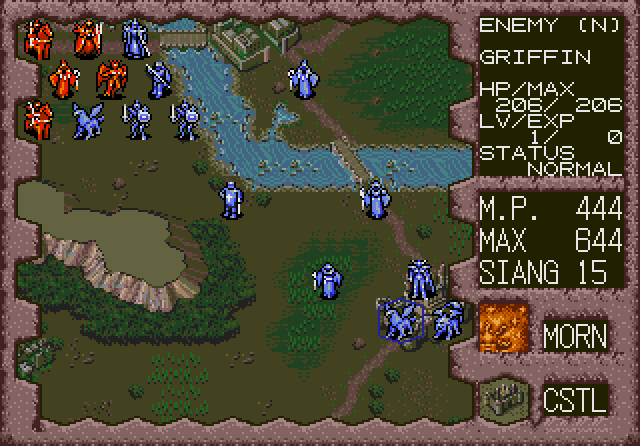
A griffin is the class-changed version of a hippogriff.
It is still no threat.
Instead of using magic, the enemy monk attacked Invye.
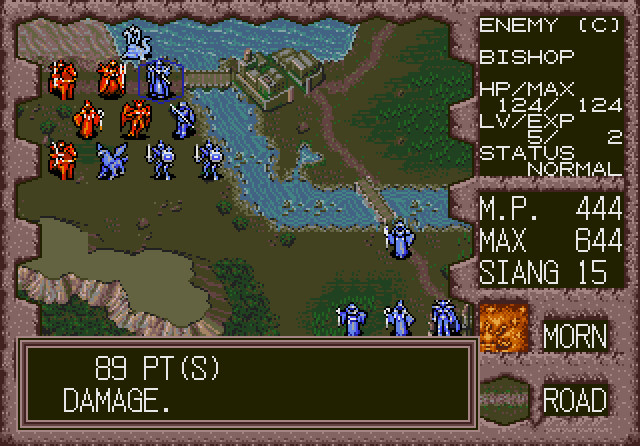
The enemy bishop stepped forward
and unleashed his terrible magic on Tadleer.
As expected, priestly magic is rather effective against the undead.
Sheena summoned another griffin and a great manticore.
For the previous three turns, for some reason, Sheena summoned no units, which is why it was easygoing until we got closer to her.
Previous --- Index --- Next


Comments
Post a Comment